Orange Creamsicle Mini Cheesecakes – Bright, Creamy, and Perfectly Portable

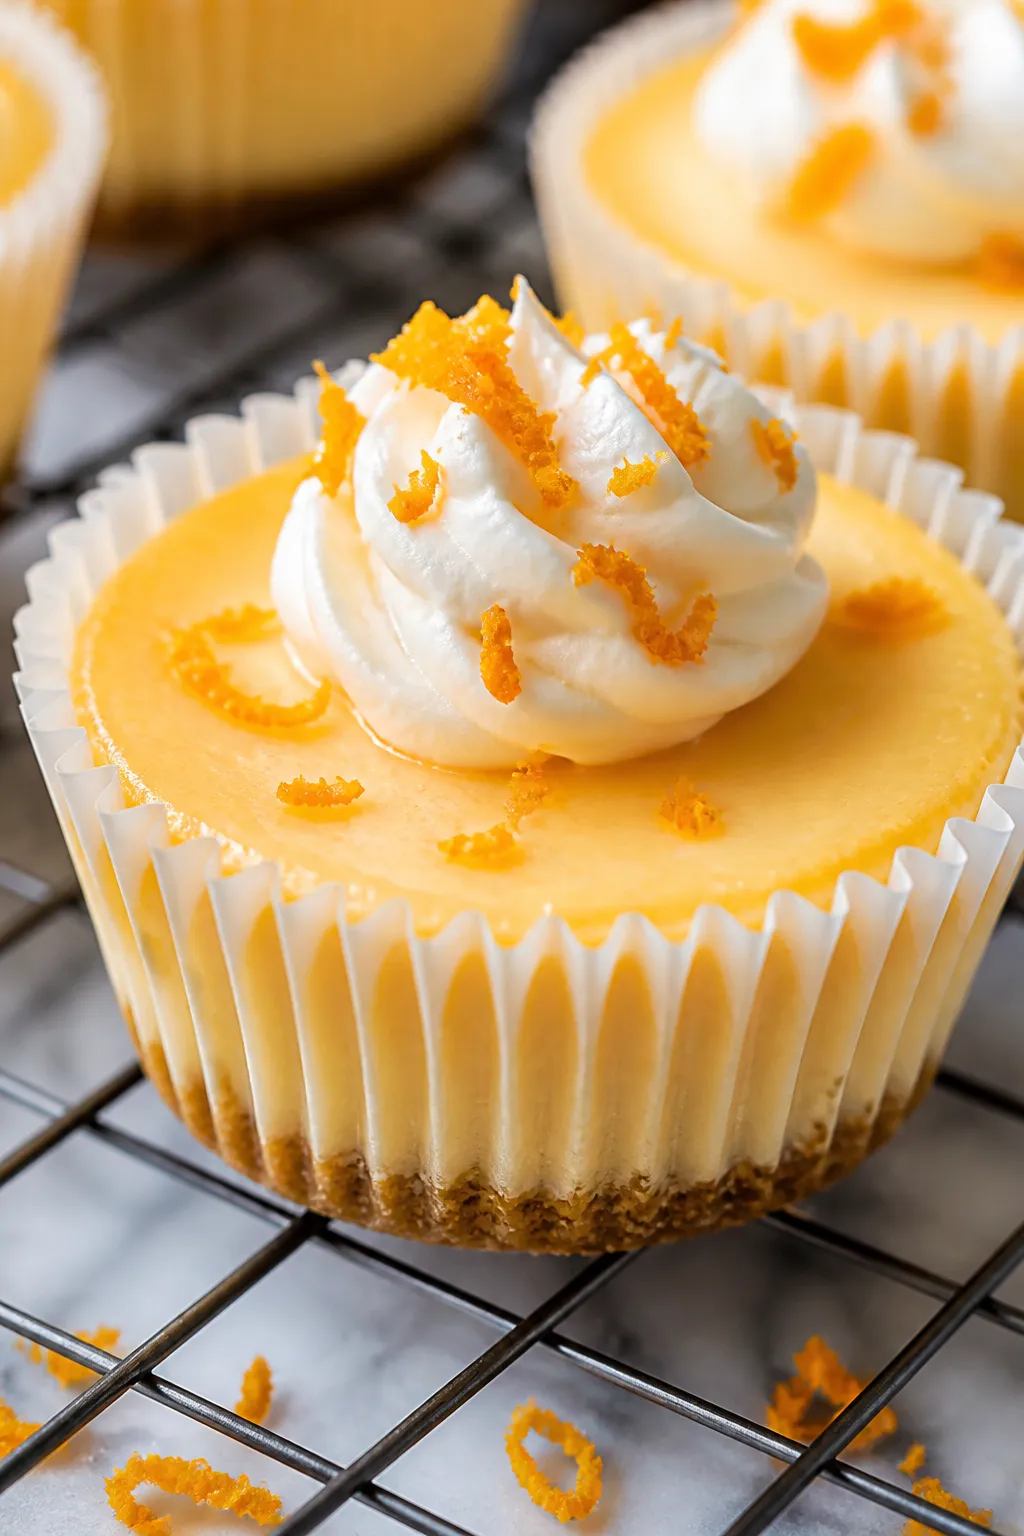
These mini cheesecakes taste like a childhood creamsicle, but in a smooth, tangy, grown-up dessert. They’re bright with fresh orange flavor, creamy in the center, and finished with a cloud of whipped cream. The best part?
They bake in a muffin tin, so they’re easy to serve and share. No fuss, no water bath, and no waiting around for a big cheesecake to set. Just sunny, bite-sized treats that feel special any day of the week.
What Makes This Recipe So Good
- Fresh citrus flavor: Real orange zest and juice bring a bright, natural taste—no artificial flavors needed.
- Foolproof texture: Cream cheese and sour cream create a silky, tangy filling that bakes up beautifully.
- Mini size, major payoff: They cool faster, portion easily, and look cute on any dessert table.
- No water bath: The small size and low bake temp help prevent cracks without extra steps.
- Make-ahead friendly: Chill overnight and top just before serving for stress-free hosting.
Shopping List
- Graham crackers (or digestive biscuits)
- Unsalted butter
- Granulated sugar
- Fine sea salt
- Cream cheese (full-fat, brick style)
- Sour cream (or full-fat Greek yogurt)
- Large eggs
- Pure vanilla extract
- Fresh oranges (for zest and juice)
- Orange extract (optional, for extra creamsicle flavor)
- Heavy whipping cream (for topping)
- Powdered sugar (for whipped cream)
Instructions
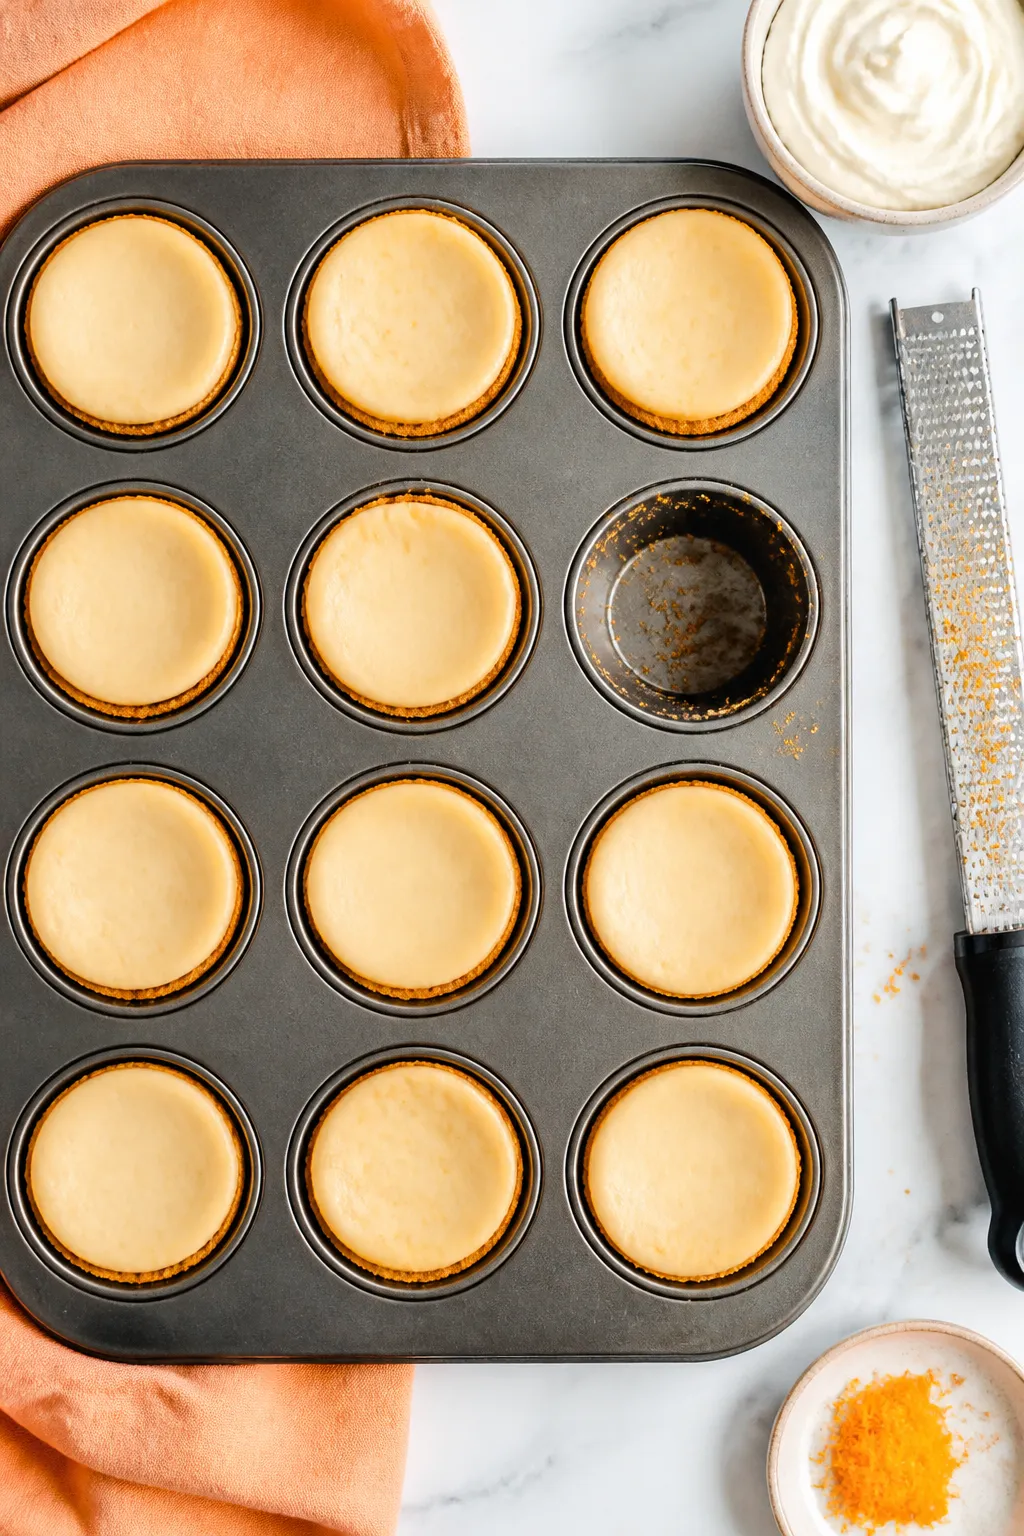
- Prep the pan: Line a 12-cup muffin tin with paper liners.
Heat oven to 325°F (163°C).
- Make the crust: Pulse 1 cup graham cracker crumbs with 2 tablespoons sugar and a pinch of salt. Stir in 4 tablespoons melted butter until the mixture looks like wet sand.
- Press and pre-bake: Divide crust among cups (about 1 heaping tablespoon each). Press firmly with the bottom of a measuring spoon.
Bake 5–6 minutes, then cool while you make the filling.
- Beat the cream cheese: In a bowl, beat 16 ounces softened cream cheese on medium until smooth and fluffy, about 2 minutes. Scrape the bowl.
- Add sugar and flavor: Beat in 1/2 cup granulated sugar, 1 teaspoon vanilla, 1–2 teaspoons finely grated orange zest, and a small pinch of salt until smooth.
- Mix in sour cream and juice: Add 1/3 cup sour cream and 2–3 tablespoons fresh orange juice. If using, add 1/4 teaspoon orange extract.
Mix on low just to combine.
- Add eggs gently: Beat in 2 large eggs, one at a time, on low speed. Mix only until just blended to avoid incorporating too much air.
- Fill the cups: Divide batter evenly among liners, filling about 3/4 full.
- Bake: Bake 16–19 minutes, until edges are set and centers still jiggle slightly. They will finish setting as they cool.
- Cool gradually: Turn off the oven, crack the door, and let cheesecakes sit 5 minutes.
Transfer pan to a rack and cool to room temperature, about 45 minutes.
- Chill to set: Refrigerate at least 3 hours, preferably overnight, for the best texture and flavor.
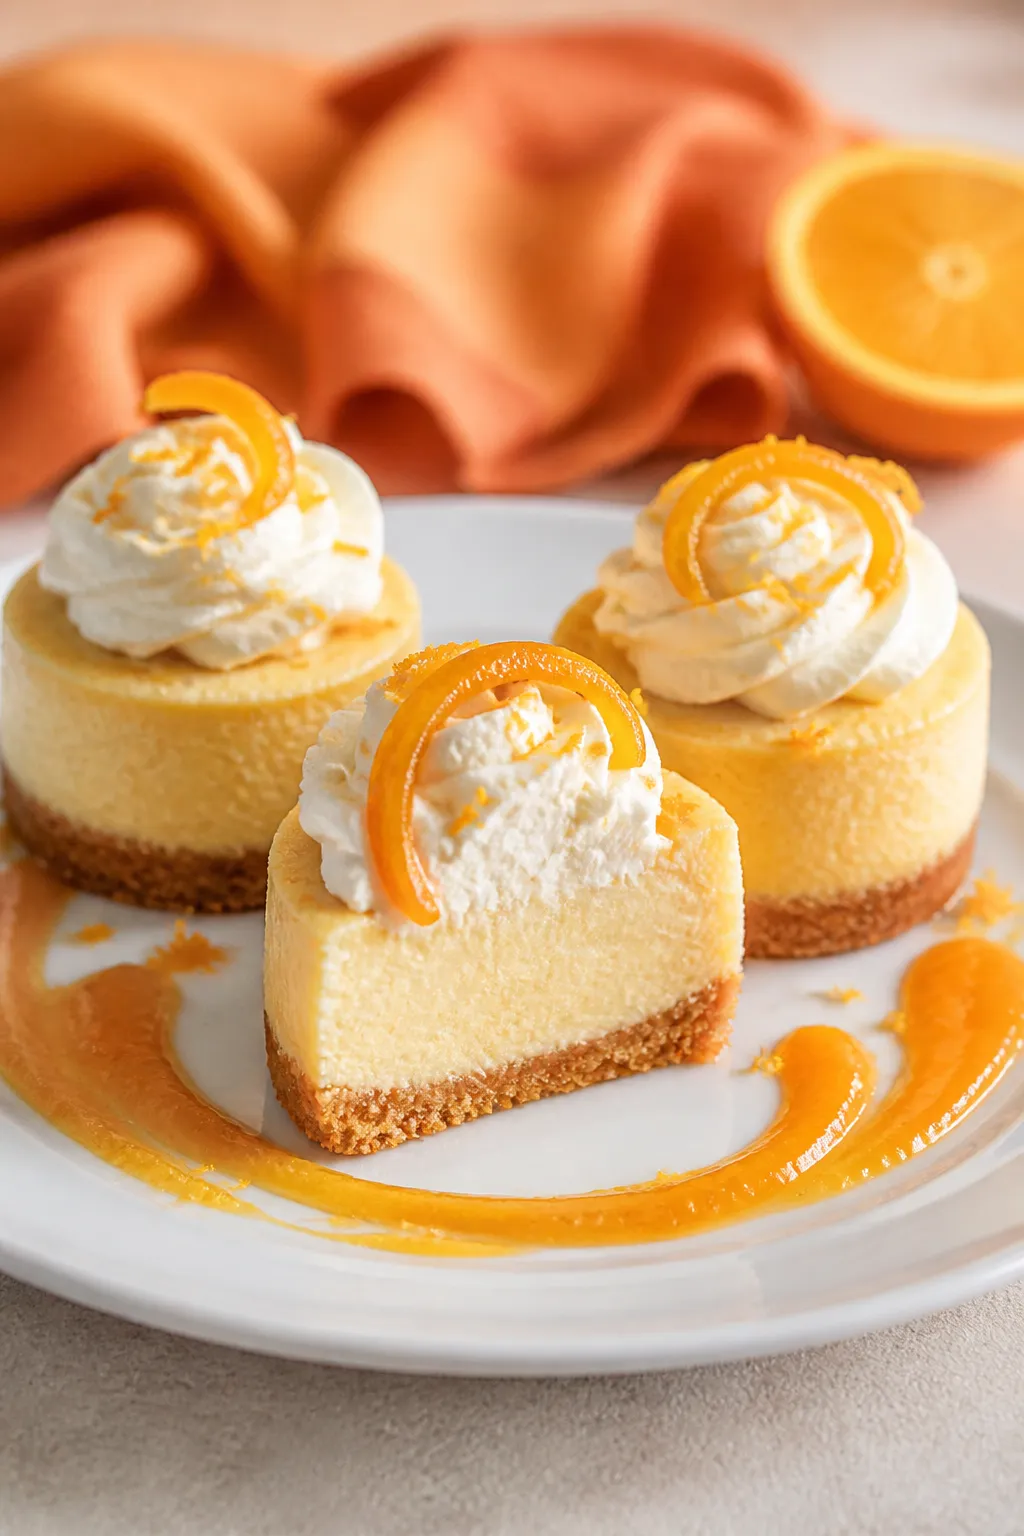
- Whipped cream: Beat 3/4 cup cold heavy cream with 2 tablespoons powdered sugar and a splash of vanilla to soft peaks. Pipe or dollop on top before serving. Garnish with extra zest if you like.
Storage Instructions
- Refrigerate: Keep covered in the fridge for up to 5 days.
Add whipped cream just before serving for the freshest look.
- Freeze: Freeze without toppings, well wrapped, for up to 2 months. Thaw overnight in the fridge.
- Transport: Keep chilled in a cooler pack; add whipped cream at your destination.
Benefits of This Recipe
- Kid-friendly and party-ready: The mini size makes them easy to serve at birthdays, showers, and picnics.
- Balanced flavor: Sweet, tangy, and citrusy without being heavy.
- Flexible: Works with other citrus like lemon or lime without changing the method.
- Approachable technique: Simple steps and a forgiving bake for consistent results.
Common Mistakes to Avoid
- Cold cream cheese: If it’s not fully softened, the batter gets lumpy. Let it sit at room temp 45–60 minutes first.
- Overmixing the eggs: Too much air = cracks.
Mix on low just until combined.
- Overbaking: Pull them when the centers still wobble slightly. They firm up as they cool.
- Skipping the chill: Cheesecake needs time to set. Rushing leads to a loose texture.
Alternatives
- Crust swap: Try vanilla wafer crumbs, Biscoff, or gluten-free grahams.
- Dairy tweaks: Use full-fat Greek yogurt instead of sour cream for a lighter tang.
- Citrus change: Lemon, lime, or blood orange all work—keep the same amounts.
- Topping ideas: Add candied orange peel, white chocolate shavings, or a thin orange marmalade swirl.
FAQ
Can I make these without liners?
Yes, but grease the muffin cups well and let the cheesecakes chill thoroughly before gently loosening with a thin knife.
Liners make removal and cleanup much easier.
Do I need a water bath?
No. The minis bake evenly at 325°F and set without cracking if you avoid overmixing and overbaking.
Can I reduce the sugar?
You can trim the filling sugar to 1/3 cup for a less sweet bite. Keep in mind the tang will be more pronounced.
How do I get stronger orange flavor?
Use extra zest, reduce the juice slightly, and add a touch of orange extract.
Zest carries the most intense citrus oils, so don’t skip it.
Can I make them a day ahead?
Absolutely. They’re even better the next day. Chill overnight and add whipped cream just before serving.
Wrapping Up
These Orange Creamsicle Mini Cheesecakes bring sunny flavor in a neat, make-ahead package.
The texture is silky, the citrus is bright, and the steps are simple enough for a weeknight. Keep a batch in the fridge, top with whipped cream when you’re ready, and enjoy a little slice of nostalgia—no popsicle stick required.
Ingredients
Method
- Prep the pan: Line a 12-cup muffin tin with paper liners. Heat oven to 325°F (163°C).
- Make the crust: Pulse 1 cup graham cracker crumbs with 2 tablespoons sugar and a pinch of salt. Stir in 4 tablespoons melted butter until the mixture looks like wet sand.
- Press and pre-bake: Divide crust among cups (about 1 heaping tablespoon each). Press firmly with the bottom of a measuring spoon. Bake 5–6 minutes, then cool while you make the filling.
- Beat the cream cheese: In a bowl, beat 16 ounces softened cream cheese on medium until smooth and fluffy, about 2 minutes. Scrape the bowl.
- Add sugar and flavor: Beat in 1/2 cup granulated sugar, 1 teaspoon vanilla, 1–2 teaspoons finely grated orange zest, and a small pinch of salt until smooth.
- Mix in sour cream and juice: Add 1/3 cup sour cream and 2–3 tablespoons fresh orange juice. If using, add 1/4 teaspoon orange extract. Mix on low just to combine.
- Add eggs gently: Beat in 2 large eggs, one at a time, on low speed. Mix only until just blended to avoid incorporating too much air.
- Fill the cups: Divide batter evenly among liners, filling about 3/4 full.
- Bake: Bake 16–19 minutes, until edges are set and centers still jiggle slightly. They will finish setting as they cool.
- Cool gradually: Turn off the oven, crack the door, and let cheesecakes sit 5 minutes. Transfer pan to a rack and cool to room temperature, about 45 minutes.
- Chill to set: Refrigerate at least 3 hours, preferably overnight, for the best texture and flavor.
- Whipped cream: Beat 3/4 cup cold heavy cream with 2 tablespoons powdered sugar and a splash of vanilla to soft peaks. Pipe or dollop on top before serving. Garnish with extra zest if you like.
Printable Recipe Card
Want just the essential recipe details without scrolling through the article? Get our printable recipe card with just the ingredients and instructions.