No Bake Mini Oreo Cheesecakes – Creamy, Easy, and Crowd-Pleasing
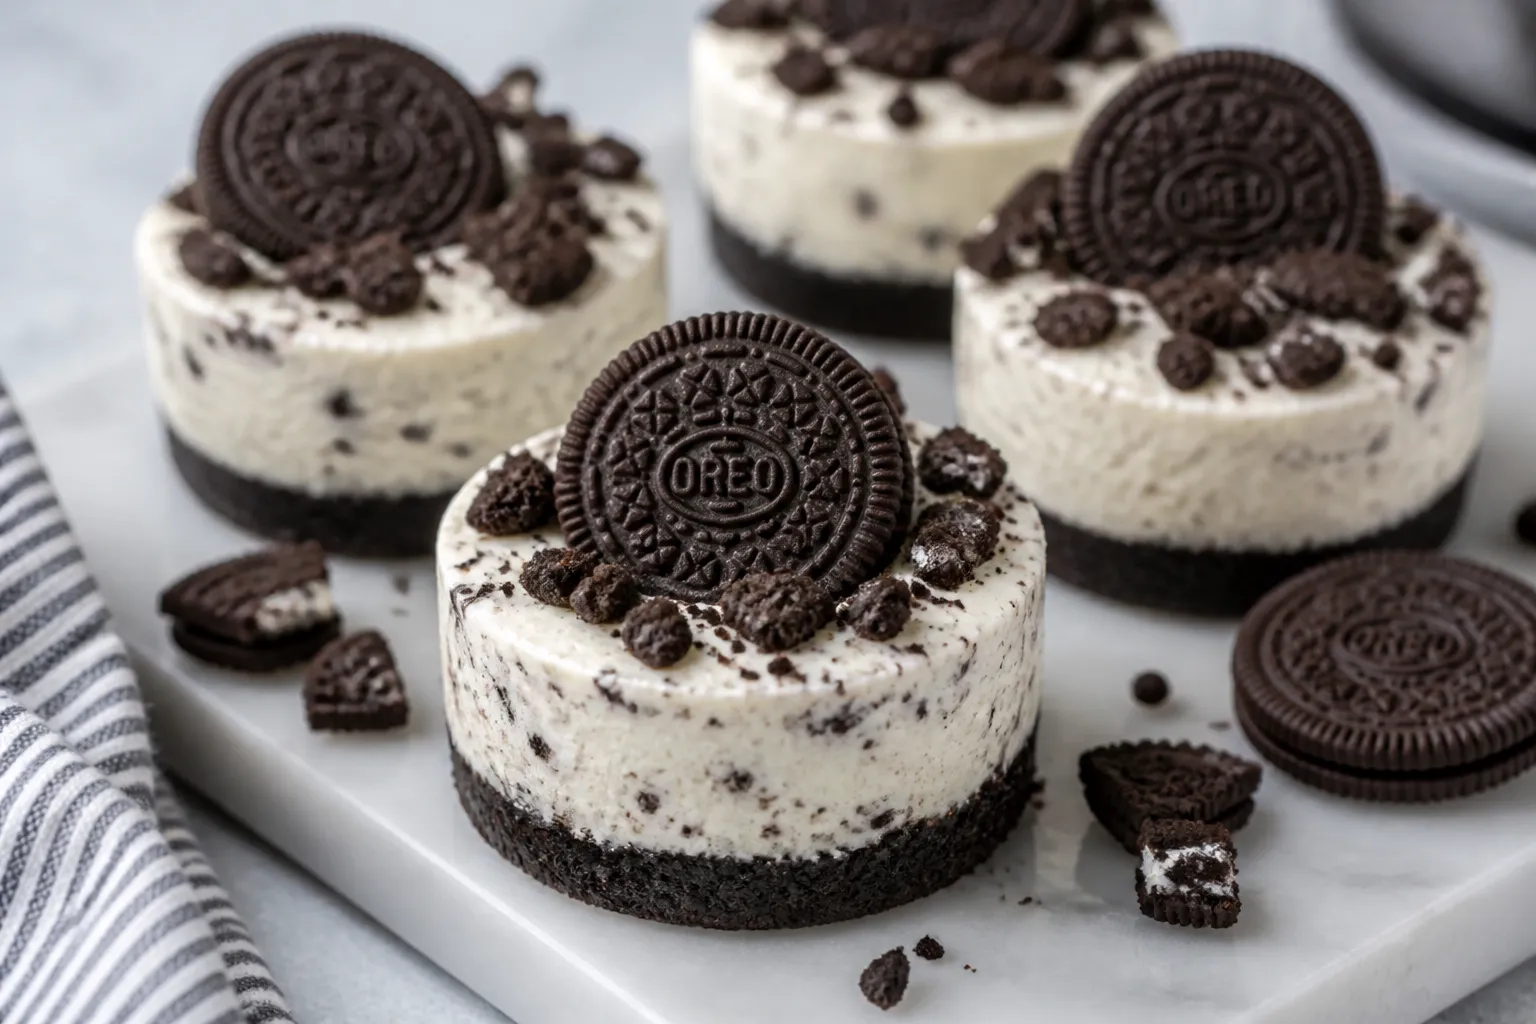
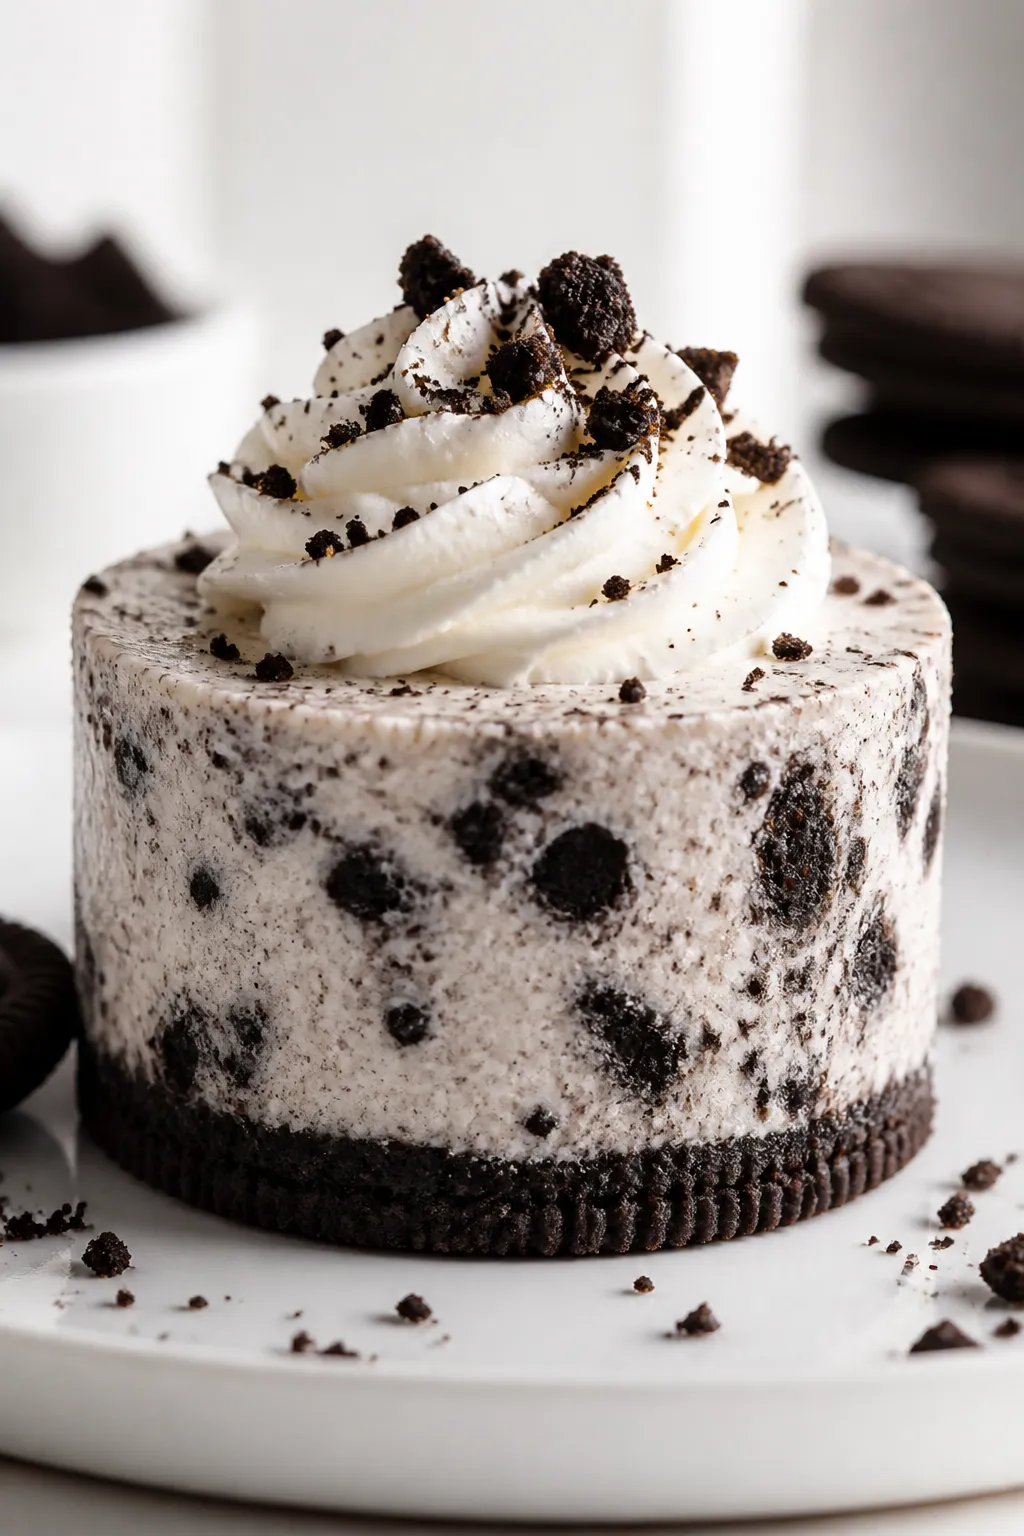
These mini cheesecakes are the kind of treat you can whip up without turning on the oven or breaking a sweat. They’re creamy, cookie-studded, and just the right size for a satisfying bite. Perfect for parties, weeknight cravings, or a make-ahead dessert, they look fancy but take very little effort.
If you love Oreos and cheesecake, this is a stress-free match made in dessert heaven.
What Makes This Special
- No baking required: The fridge does all the work, so there’s no risk of overbaking or cracks.
- Mini size, big flavor: Individual portions feel special and are easy to serve.
- Quick to assemble: Simple ingredients, minimal steps, and no water baths or complicated techniques.
- Great for make-ahead: Chill and serve when you’re ready—flavor improves overnight.
- Kid- and crowd-friendly: Cookies and cream is a universal win.
Ingredients
- 24 Oreo cookies (12 for crusts, 8–10 crushed for filling, plus extras for topping if you like)
- 2 tablespoons unsalted butter, melted
- 8 ounces cream cheese, softened to room temperature
- 1/3 cup granulated sugar
- 1 teaspoon vanilla extract
- 1 cup heavy whipping cream, cold
- Pinch of salt (optional, enhances flavor)
- Whipped cream for topping (optional)
Step-by-Step Instructions
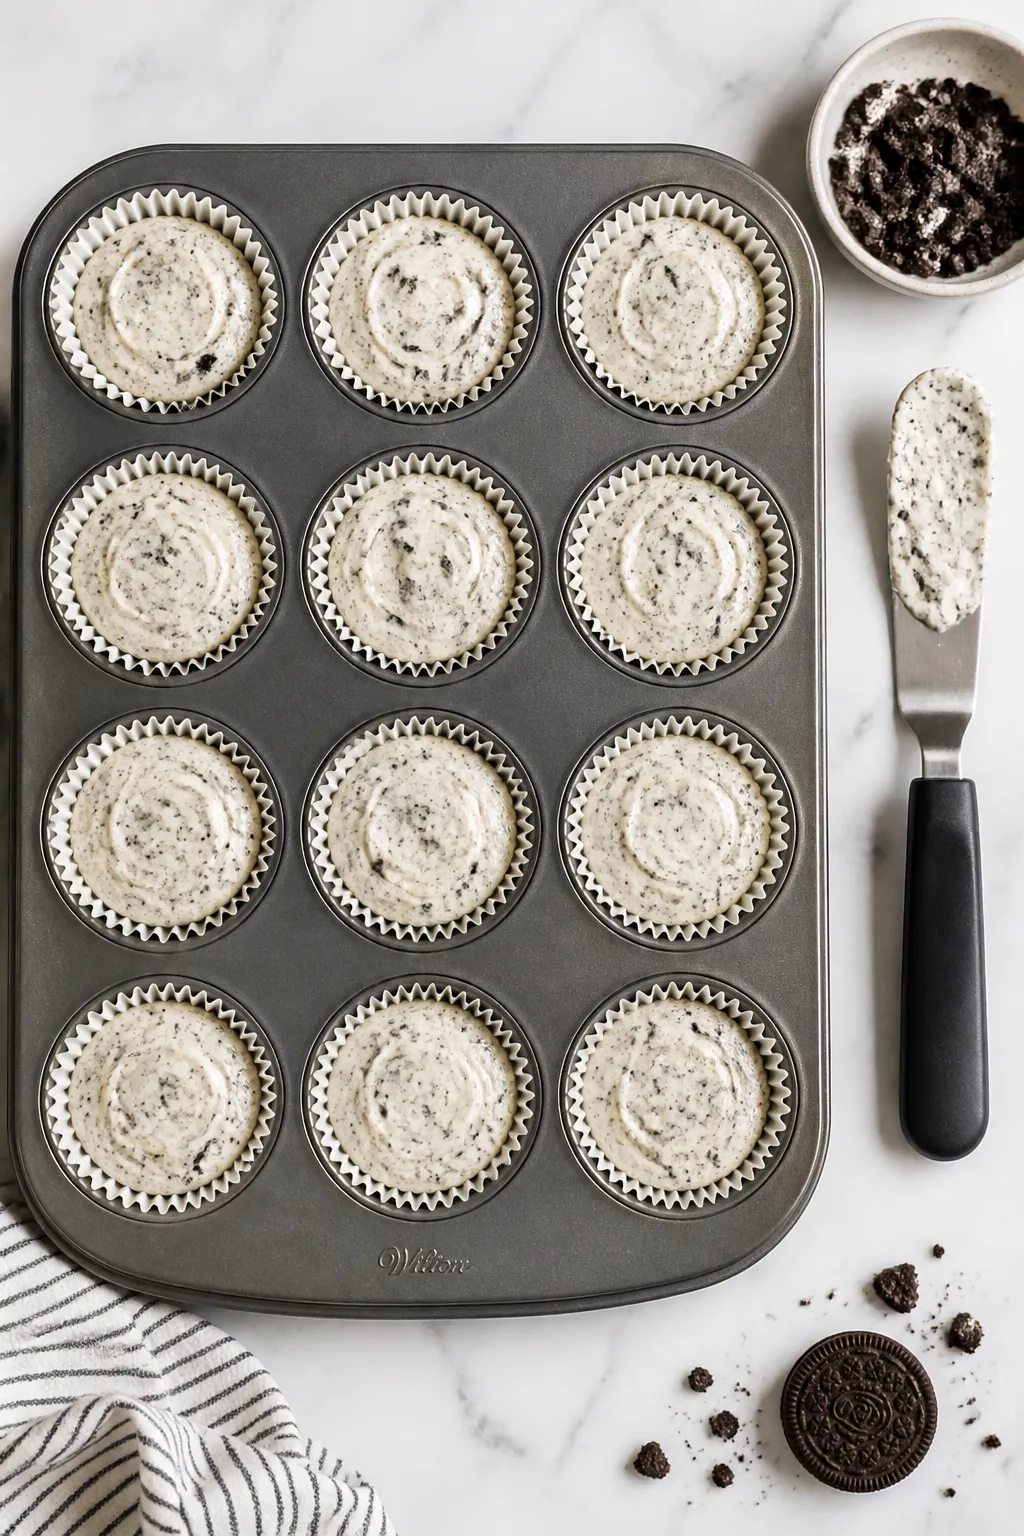
- Prep the pan: Line a 12-cup muffin tin with paper liners. Drop one whole Oreo into the bottom of each liner to make an instant crust.
- Crush Oreos for the filling: Place 8–10 Oreos in a zip-top bag and crush into small chunks. Aim for a mix of crumbs and bite-sized pieces.
- Make the creamy base: In a bowl, beat the softened cream cheese, sugar, vanilla, and salt until smooth and fluffy, about 2 minutes.
Scrape down the bowl to remove any lumps.
- Whip the cream: In a separate cold bowl, whip the heavy cream to stiff peaks. You should see clear lines from the beaters and peaks that stand tall.
- Fold it together: Gently fold the whipped cream into the cream cheese mixture in two additions. Keep it light and airy—don’t overmix.
- Add the cookies: Fold in the crushed Oreos until evenly distributed.
Save a little for sprinkling on top if you like.
- Fill the cups: Spoon the mixture over the Oreo crusts, dividing evenly among the 12 liners. Smooth the tops with a spoon.
- Optional butter boost: If you prefer a firmer crust, stir the melted butter into 12 finely crushed Oreos and press 1 tablespoon into each liner instead of using whole cookies.
- Chill: Cover the pan and refrigerate for at least 3–4 hours, or until set. Overnight is best for clean edges and deeper flavor.
- Finish and serve: Top with a swirl of whipped cream and a sprinkle of cookie crumbs or a mini Oreo.
Peel off the liners and enjoy.
How to Store
- Refrigerate: Store in an airtight container for up to 4 days.
- Freeze: Freeze without whipped cream topping for up to 2 months. Thaw in the fridge for a few hours before serving.
- Prevent sogginess: Add fresh whipped cream and final cookie crumbs right before serving.
Benefits of This Recipe
- Beginner-friendly: No oven, no water bath, no guesswork.
- Fast prep: Hands-on time is about 20 minutes.
- Flexible: Easy to tweak for flavors, dietary needs, or toppings.
- Portion control: Mini size helps manage servings at parties or for kids.
What Not to Do
- Don’t skip softening the cream cheese: Cold cream cheese leads to lumps that won’t disappear.
- Don’t overmix after adding whipped cream: You’ll deflate the mixture and lose that light, mousse-like texture.
- Don’t rush the chill: If they’re not fully set, they’ll slump when you remove the liners.
- Don’t add toppings too early: Whipped cream and extra crumbs can weep or get soggy if they sit overnight.
Recipe Variations
- Mint Oreo: Add 1/4 teaspoon peppermint extract and use Mint Oreos.
- Peanut Butter Swirl: Microwave 1/3 cup peanut butter until pourable and swirl into the filling before scooping.
- Strawberry Crunch: Fold in chopped fresh strawberries and top with freeze-dried strawberry crumbs.
- Gluten-Free: Use gluten-free sandwich cookies and check that all other ingredients are certified gluten-free.
- Double Chocolate: Mix 2 tablespoons cocoa powder into the cream cheese mixture and add mini chocolate chips.
Can I make these without a muffin tin?
Yes. Use small ramekins or a silicone mini cheesecake mold.
You can also make one 8-inch no-bake cheesecake in a springform pan; just increase chill time to overnight.
Can I use Cool Whip instead of whipped cream?
Yes. Use about 2 cups of thawed whipped topping and fold it in gently. The texture will be slightly sweeter and more stable.
What if I only have reduced-fat cream cheese?
You can use it, but the filling may be less rich and a bit softer.
Full-fat cream cheese gives the best structure and flavor.
How do I crush the Oreos cleanly?
Seal them in a zip-top bag and use a rolling pin. For finer crumbs, pulse in a food processor. Avoid overprocessing if you want chunky bits in the filling.
Why didn’t my cheesecakes set?
Common reasons are under-whipped cream, overmixing, or not chilling long enough.
Make sure the whipped cream reaches stiff peaks and chill for at least 4 hours.
Wrapping Up
No Bake Mini Oreo Cheesecakes deliver big cheesecake flavor without the fuss. They’re quick to make, easy to serve, and endlessly customizable. Keep a batch in the fridge for a treat that’s always ready when you are.
Simple steps, creamy texture, and plenty of cookie crunch—what’s not to love?
Ingredients
Method
- Prep the pan: Line a 12-cup muffin tin with paper liners. Drop one whole Oreo into the bottom of each liner to make an instant crust.
- Crush Oreos for the filling: Place 8–10 Oreos in a zip-top bag and crush into small chunks. Aim for a mix of crumbs and bite-sized pieces.
- Make the creamy base: In a bowl, beat the softened cream cheese, sugar, vanilla, and salt until smooth and fluffy, about 2 minutes. Scrape down the bowl to remove any lumps.
- Whip the cream: In a separate cold bowl, whip the heavy cream to stiff peaks. You should see clear lines from the beaters and peaks that stand tall.
- Fold it together: Gently fold the whipped cream into the cream cheese mixture in two additions. Keep it light and airy—don’t overmix.
- Add the cookies: Fold in the crushed Oreos until evenly distributed. Save a little for sprinkling on top if you like.
- Fill the cups: Spoon the mixture over the Oreo crusts, dividing evenly among the 12 liners. Smooth the tops with a spoon.
- Optional butter boost: If you prefer a firmer crust, stir the melted butter into 12 finely crushed Oreos and press 1 tablespoon into each liner instead of using whole cookies.
- Chill: Cover the pan and refrigerate for at least 3–4 hours, or until set. Overnight is best for clean edges and deeper flavor.
- Finish and serve: Top with a swirl of whipped cream and a sprinkle of cookie crumbs or a mini Oreo. Peel off the liners and enjoy.
Printable Recipe Card
Want just the essential recipe details without scrolling through the article? Get our printable recipe card with just the ingredients and instructions.