Cheesy Garlic Chicken Wraps – Easy, Comforting, and Packed with Flavor
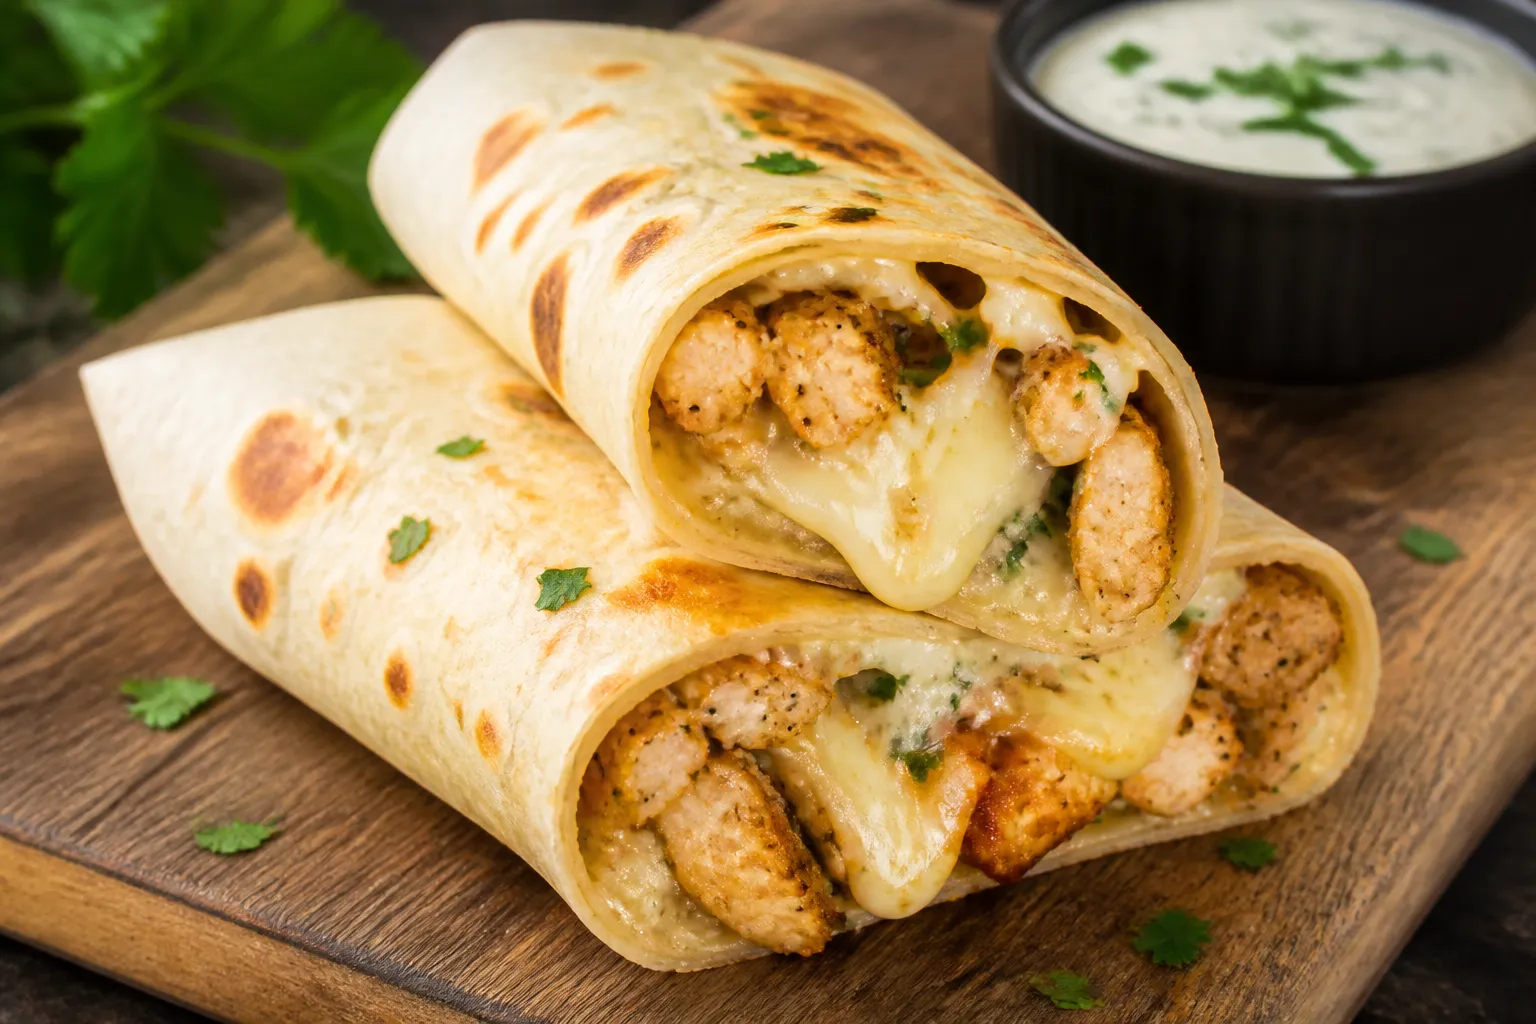
These wraps hit that perfect sweet spot between cozy and convenient. You get juicy chicken, melty cheese, and a garlicky sauce that ties it all together—no fuss, big payoff. They’re great for weeknights, meal prep, or when you just need something warm and satisfying fast.
Serve them with a crisp salad or some roasted veggies, and you’ve got a complete meal without much effort.
What Makes This Recipe So Good
- Big flavor, simple steps: Garlicky, cheesy, and herby without a complicated process.
- Flexible: Works with rotisserie chicken, leftover grilled chicken, or cooked thighs.
- Family-friendly: Mild heat, melty cheese, and soft tortillas make it a crowd-pleaser.
- Quick: From skillet to plate in about 25 minutes if your chicken is already cooked.
- Great texture: Warm, toasty wrap on the outside, creamy and juicy inside.
Shopping List
- 2 cups cooked chicken, shredded or chopped (rotisserie works great)
- 1 tablespoon olive oil or butter
- 4 cloves garlic, minced (or 1 teaspoon garlic paste)
- 1 teaspoon Italian seasoning (or a mix of oregano and basil)
- 1/2 teaspoon smoked paprika (optional, for warmth)
- 1/4 teaspoon red pepper flakes (optional, for heat)
- 1/2 cup chicken broth
- 4 ounces cream cheese, softened
- 1/2 cup plain Greek yogurt or sour cream
- 1 cup shredded mozzarella
- 1/2 cup shredded sharp cheddar or Monterey Jack
- 1/4 cup grated Parmesan
- 2 tablespoons fresh parsley or chives, chopped (optional)
- Salt and black pepper, to taste
- 4 large flour tortillas (10-inch) or 6 medium
- 1 tablespoon butter or oil for toasting wraps
- Optional add-ins: baby spinach, thin-sliced red onion, sliced tomatoes, roasted peppers
Instructions
- Warm a skillet over medium heat. Add olive oil or butter. Sauté the garlic for 30–45 seconds until fragrant.
Don’t let it brown.
- Stir in Italian seasoning, smoked paprika, and red pepper flakes. Cook 10 seconds to wake up the spices.
- Pour in the chicken broth. Simmer 1–2 minutes to reduce slightly.
- Lower the heat and whisk in the cream cheese until smooth.
Add the Greek yogurt (or sour cream) and stir until creamy.
- Fold in the mozzarella, cheddar, and Parmesan. Stir until melted and glossy. Season with salt and pepper.
- Add the cooked chicken.
Coat evenly and warm through, 2–3 minutes. Stir in fresh herbs if using.
- Warm the tortillas briefly so they’re pliable. Spoon a generous line of the cheesy chicken down the center.
Add optional veggies like spinach or onions.
- Fold the sides over the filling, then roll tightly from the bottom up to make a sealed wrap.
- Wipe the skillet, then melt a little butter or oil. Place wraps seam-side down and toast 1–2 minutes per side until golden and lightly crisp.
- Let rest 1 minute, then slice in half. Serve hot with a simple salad, cucumber slices, or carrot sticks.
Keeping It Fresh
- Fridge: Store the cheesy chicken filling in an airtight container for up to 3 days.
Assemble and toast wraps right before eating for best texture.
- Freezer: Freeze the filling (not the assembled wrap) for up to 2 months. Thaw overnight in the fridge and reheat gently.
- Reheat: Warm filling on low heat with a splash of broth or milk if it seems thick. Toast assembled wraps in a skillet or air fryer to keep them crisp.
Why This is Good for You
- Protein-rich: Chicken and Greek yogurt keep you full and support muscle repair.
- Calcium and B vitamins: The cheese adds calcium, and the dairy brings B12 for energy.
- Customizable veggies: Add spinach, tomatoes, or peppers for fiber and antioxidants.
- Balanced meal: Pair with a side salad or roasted vegetables for a solid macro mix.
Pitfalls to Watch Out For
- Over-thick sauce: If it tightens too much, whisk in a tablespoon of warm broth or milk.
- Soggy wraps: Don’t overfill, and toast seam-side down first to seal.
- Burnt garlic: Keep heat moderate.
Bitter garlic can overpower the dish.
- Too salty: Taste before adding salt—Parmesan and broth already bring sodium.
Alternatives
- Protein swap: Use turkey, leftover steak, rotisserie chicken, or sautéed mushrooms for a vegetarian twist.
- Lighter option: Use part-skim mozzarella, reduce cheddar, and add more Greek yogurt in place of some cream cheese.
- Low-carb: Try low-carb tortillas or serve the filling over sautéed zucchini ribbons.
- Heat lovers: Add jalapeños, chipotle powder, or hot sauce to the sauce.
- Herb twist: Swap Italian seasoning for Cajun spice or a garlic-herb blend.
- Gluten-free: Use certified gluten-free tortillas.
FAQ
Can I make these ahead?
Yes. Prep the filling up to 3 days ahead. Assemble and toast the wraps just before serving so they stay crisp and don’t get soggy.
What cheese works best?
A blend is ideal.
Mozzarella for melt, cheddar or Monterey Jack for flavor, and Parmesan for a savory kick. If using just one, go with mozzarella or Jack.
How do I keep the wrap from tearing?
Warm the tortilla briefly so it’s flexible, don’t overfill, and roll tightly. Toasting seam-side down first helps seal it.
Can I use raw chicken?
You can.
Dice it small, season lightly with salt and pepper, and cook it in the skillet first. Remove, make the sauce, then return the cooked chicken to coat.
What can I serve with these wraps?
A simple side salad, roasted broccoli, air-fried potatoes, or a crunchy slaw pairs really well.
Is there a dairy-free version?
Use dairy-free cream cheese, a plant-based yogurt, and vegan mozzarella-style shreds. Flavor with extra garlic and herbs to keep it savory.
Final Thoughts
Cheesy garlic chicken wraps deliver big comfort with minimal effort.
They’re flexible, budget-friendly, and easy to adapt to whatever’s in your fridge. Make the filling once, and you’ve got quick, satisfying meals for days. Keep it simple, toast until golden, and enjoy every melty, garlicky bite.