Pumpkin Pie Cake Pops – A Fun, Bite-Sized Fall Treat
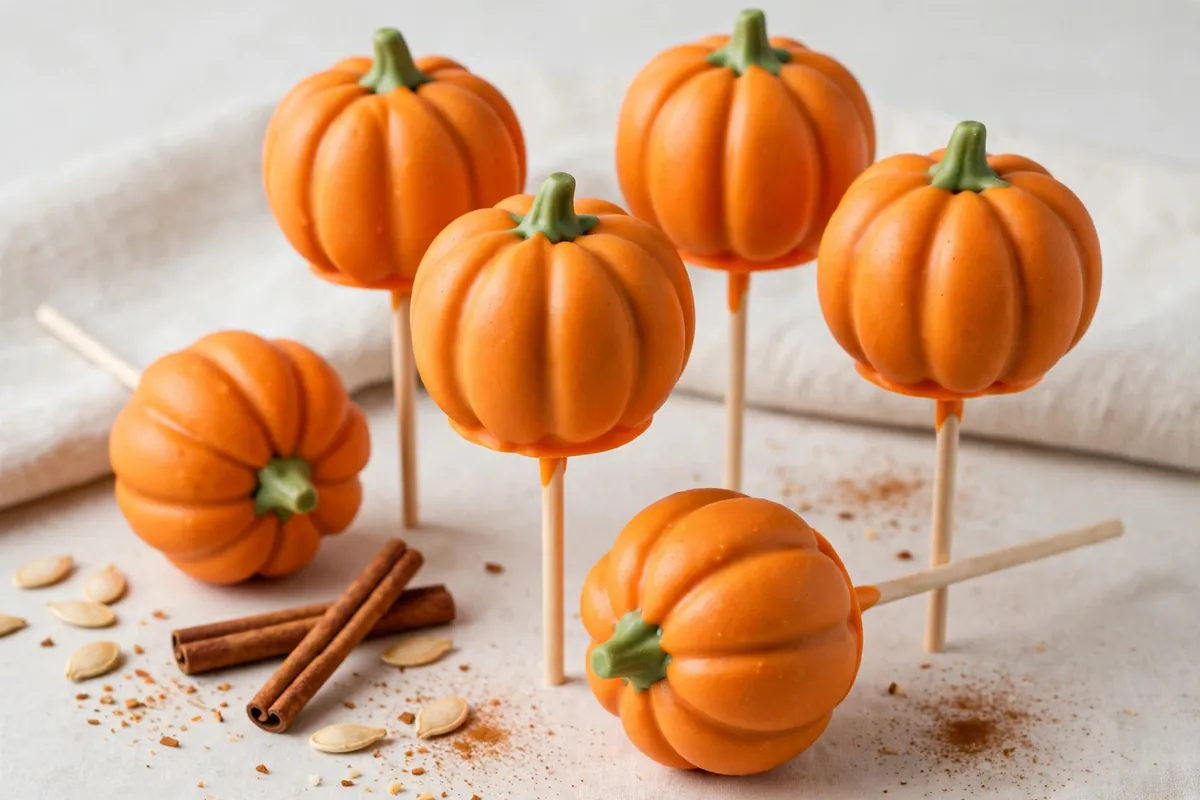
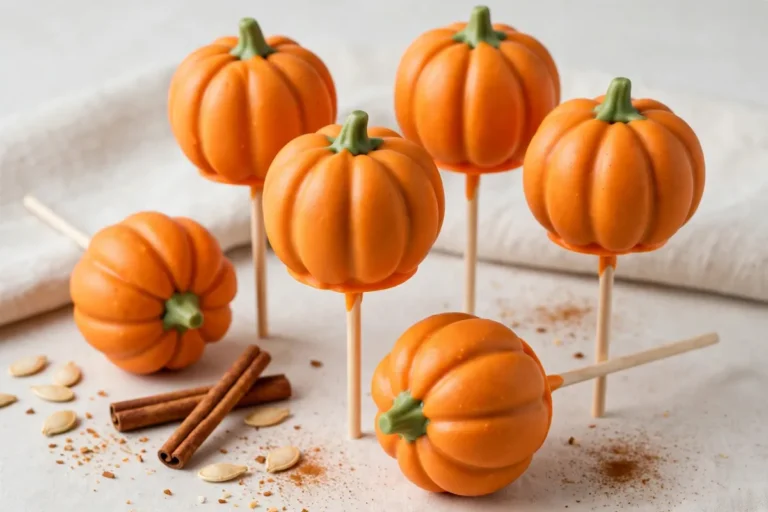
Pumpkin pie meets party snack in these playful pumpkin pie cake pops. They’re cozy, spiced, and perfect for when you want a festive dessert without plates or forks. The texture is soft and truffle-like inside, with a sweet candy shell on the outside.
Kids love them, adults ask for seconds, and they look great on a dessert table. Make a batch for fall gatherings, Halloween, or just a cozy night in.
What Makes This Recipe So Good
- Big pumpkin pie flavor: Real pumpkin and warm spices give each bite that classic holiday taste.
- Easy to decorate: Candy melts make a smooth coating that’s simple to color and drizzle.
- Make-ahead friendly: You can chill the centers, dip later, and serve when you’re ready.
- Kid-approved: Fun to shape, dip, and decorate together.
- Portable and tidy: No slicing, no plates—just grab and go.
Ingredients
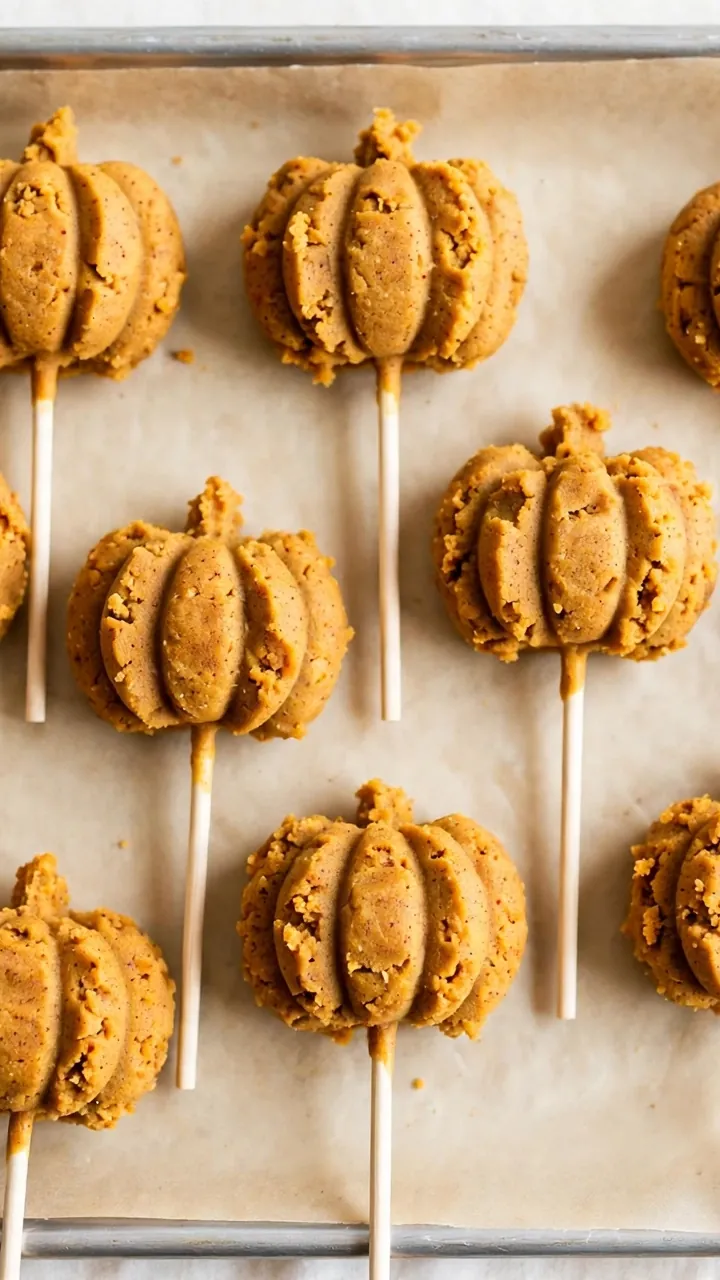
- 1 box spice cake mix (plus ingredients listed on box: eggs, oil, water)
- 1 cup canned pumpkin puree (not pumpkin pie filling)
- 1 teaspoon pumpkin pie spice
- 4 ounces cream cheese, softened
- 1/4 cup powdered sugar
- 1 teaspoon vanilla extract
- 16–20 ounces orange candy melts (or white, tinted orange)
- 2 tablespoons refined coconut oil or vegetable shortening (for thinning coating, as needed)
- Brown or green candy melts for stems (or mini pretzel pieces)
- Optional: white candy melts for drizzle, fall sprinkles
- Lollipop sticks
How to Make It
- Bake the cake: Prepare the spice cake according to the box, but replace half the water with the pumpkin puree. Stir in the pumpkin pie spice.Bake as directed and let it cool completely.
- Make the binder: Beat cream cheese, powdered sugar, and vanilla until smooth and fluffy.
- Crumble the cake: In a large bowl, crumble the cooled cake with your hands until fine and even. No big chunks.
- Combine: Add the cream cheese mixture to the crumbs. Mix with a spatula or your hands until it forms a soft, dough-like mixture that holds when pressed.
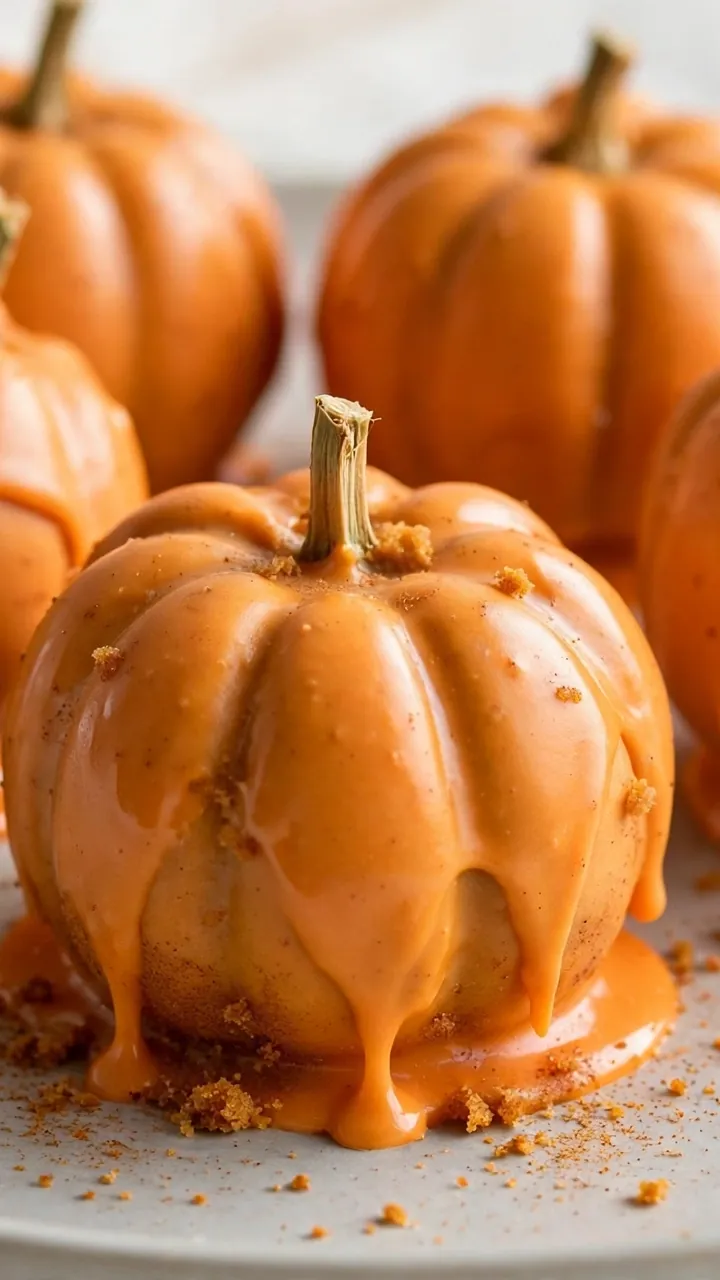
- Shape: Scoop tablespoon-sized portions and roll into balls.For a pumpkin look, slightly flatten the top and bottom and use a toothpick to add light grooves. Place on a parchment-lined sheet.
- Chill: Freeze the shaped centers for 20–30 minutes, or refrigerate for 1–2 hours. They should be firm but not rock-hard.
- Melt the coating: In a microwave-safe bowl, melt orange candy melts in 20–30 second bursts, stirring in between.Add coconut oil or shortening a little at a time until smooth and fluid.
- Attach sticks: Dip the tip of a lollipop stick into the melted coating, then insert it halfway into a chilled cake ball. Let set 5 minutes.
- Dip: Submerge each pop fully in the melted coating. Lift, gently tap off excess, and rotate to smooth.Place upright in a styrofoam block or a box with holes to set.
- Add stems and details: Before the coating sets, press a small dot of brown or green melt (or a pretzel piece) on top as a stem. Drizzle with white coating or add sprinkles if you like.
- Set and serve: Let them stand until fully hardened, about 15–20 minutes. Enjoy at room temperature.
How to Store
- Room temperature: Up to 2 days in a cool, dry place if your kitchen is not warm.
- Refrigerator: 5–6 days in an airtight container.Let sit 10–15 minutes before serving.
- Freezer: Freeze uncoated balls up to 2 months. Thaw in the fridge, then dip.
Benefits of This Recipe
- Budget-friendly: Uses a boxed mix and a handful of pantry items.
- Flexible timing: Work in stages—bake, chill, dip—around your schedule.
- Party-perfect: Easy to portion and display, and they travel well.
- Customizable: Adjust spices, colors, and decorations to match any fall theme.
Common Mistakes to Avoid
- Too much moisture: Adding extra pumpkin or too much binder makes the centers mushy and hard to dip.
- Skipping the chill: Warm centers slide off sticks and crack the coating. Always chill before dipping.
- Thick coating: If the candy melts are too thick, you’ll get clumps.Thin with a bit of coconut oil or shortening.
- Overheating melts: High heat scorches candy. Melt gently in short bursts and stir often.
- Rushing the set: Let the pops stand upright until fully hardened to avoid flat spots and smudges.
Alternatives
- From-scratch cake: Swap the box for your favorite homemade spice or vanilla cake.
- Dairy-free: Use dairy-free cream cheese and allergy-friendly candy melts.
- Gluten-free: Choose a gluten-free spice cake mix and confirm your candy melts are GF.
- Flavor twist: Add a dash of maple extract or a pinch of cardamom to the batter or binder.
- No sticks: Make them as truffles. Dip, then set on parchment and decorate.
FAQ
Can I use pumpkin pie filling instead of puree?
Pumpkin pie filling is pre-sweetened and spiced, which throws off the texture and flavor.
Use plain pumpkin puree for the best results and consistent moisture.
Why are my cake pops cracking?
Temperature swings are usually the culprit. If the centers are very cold and the coating is hot, the shell can crack as it sets. Let chilled centers warm a few minutes before dipping and keep the coating just warm, not hot.
How do I get super smooth coating?
Thin the candy melts slightly, tap off excess gently, and rotate the pop as it sets.
If it thickens while you work, rewarm in short bursts and stir in a small amount of coconut oil or shortening.
Can I make them a day ahead?
Yes. Fully dipped pops keep well in the fridge for several days. For best texture, bring them to room temperature before serving so the centers are soft and fudgy.
What if I don’t have lollipop sticks?
Use wooden skewers trimmed to size, paper straws, or skip the sticks and serve them as bite-size truffles in mini liners.
In Conclusion
Pumpkin Pie Cake Pops are festive, simple, and fun to share.
They pack all the cozy spice of pumpkin pie into a tidy, party-ready bite. With a few smart tips—chill, thin the coating, and decorate quickly—you’ll get smooth, adorable pops every time. Make a batch for your next fall gathering and watch them disappear.
Ingredients
Method
- Bake the cake: Prepare the spice cake according to the box, but replace half the water with the pumpkin puree. Stir in the pumpkin pie spice. Bake as directed and let it cool completely.
- Make the binder: Beat cream cheese, powdered sugar, and vanilla until smooth and fluffy.
- Crumble the cake: In a large bowl, crumble the cooled cake with your hands until fine and even. No big chunks.
- Combine: Add the cream cheese mixture to the crumbs. Mix with a spatula or your hands until it forms a soft, dough-like mixture that holds when pressed.
- Shape: Scoop tablespoon-sized portions and roll into balls. For a pumpkin look, slightly flatten the top and bottom and use a toothpick to add light grooves. Place on a parchment-lined sheet.
- Chill: Freeze the shaped centers for 20–30 minutes, or refrigerate for 1–2 hours. They should be firm but not rock-hard.
- Melt the coating: In a microwave-safe bowl, melt orange candy melts in 20–30 second bursts, stirring in between. Add coconut oil or shortening a little at a time until smooth and fluid.
- Attach sticks: Dip the tip of a lollipop stick into the melted coating, then insert it halfway into a chilled cake ball. Let set 5 minutes.
- Dip: Submerge each pop fully in the melted coating. Lift, gently tap off excess, and rotate to smooth. Place upright in a styrofoam block or a box with holes to set.
- Add stems and details: Before the coating sets, press a small dot of brown or green melt (or a pretzel piece) on top as a stem. Drizzle with white coating or add sprinkles if you like.
- Set and serve: Let them stand until fully hardened, about 15–20 minutes. Enjoy at room temperature.
Printable Recipe Card
Want just the essential recipe details without scrolling through the article? Get our printable recipe card with just the ingredients and instructions.
Pumpkin Pie Cake Pops - A Fun, Bite-Sized Fall Treat
Ingredients
Instructions
- Bake the cake: Prepare the spice cake according to the box, but replace half the water with the pumpkin puree. Stir in the pumpkin pie spice.Bake as directed and let it cool completely.
- Make the binder: Beat cream cheese, powdered sugar, and vanilla until smooth and fluffy.
- Crumble the cake: In a large bowl, crumble the cooled cake with your hands until fine and even. No big chunks.
- Combine: Add the cream cheese mixture to the crumbs. Mix with a spatula or your hands until it forms a soft, dough-like mixture that holds when pressed.
- Shape: Scoop tablespoon-sized portions and roll into balls.For a pumpkin look, slightly flatten the top and bottom and use a toothpick to add light grooves. Place on a parchment-lined sheet.
- Chill: Freeze the shaped centers for 20–30 minutes, or refrigerate for 1–2 hours. They should be firm but not rock-hard.
- Melt the coating: In a microwave-safe bowl, melt orange candy melts in 20–30 second bursts, stirring in between.Add coconut oil or shortening a little at a time until smooth and fluid.
- Attach sticks: Dip the tip of a lollipop stick into the melted coating, then insert it halfway into a chilled cake ball. Let set 5 minutes.
- Dip: Submerge each pop fully in the melted coating. Lift, gently tap off excess, and rotate to smooth.Place upright in a styrofoam block or a box with holes to set.
- Add stems and details: Before the coating sets, press a small dot of brown or green melt (or a pretzel piece) on top as a stem. Drizzle with white coating or add sprinkles if you like.
- Set and serve: Let them stand until fully hardened, about 15–20 minutes. Enjoy at room temperature.